Fabulous GF (Blender) Waffle/Pancake Batter Recipe

A very good friend turned us on to this recipe, or one similar to it.  Of course, you know I have fiddled with it some in the last few months … so it isn’t quite like we originally received it.  Try it this weekend and let me know how yours turn out.  :-)

Place in a blender, at highest speed, for 3 minutes:

  • 1 Cup of Brown Rice
  • 3/4 Cup of Oat Groats (or steel cut oats)
  • 1 tsp vanilla extract
  • 2 cups of buttermilk (or some non-dairy alternative)
  • 2 Tbsp of Olive Oil

(You can use other grain combinations, but the proportions should remain about the same.)  The batter should flow freely in the blender and it should swirl around the “vortex”.  If, for some reason it doesn’t, add a bit more liquid.  The batter for pancakes can be a bit thicker.  Truly thick batter can be used, when complete, to make muffins.

Put the lid on the blender and let it stand at room temerpature overnight (or at least 12 hours, and up to 24 hours)

As you prepare to cook the pancakes, heat the griddle or waffle iron to the highest possible heat that won’t damage the equipment (generally med-high).

Before cooking the pancakes, add:

  • one egg
  • additional liquid if needed

… and blend again on high speed for 1 minute.  Blend thoroughly.  Then add:

  • 1 teaspoon salt
  • 1/2 tsp baking soda
  • 1 – 2 tsp baking powder

You can sift these ingredents into the mix, but I have not found that to always be necessary.

Prepare your cooking surface with a spray on non-stick cooking spray, i.e. spray on olive oil.  Pancakes are ready to flip when the bubbles pop and stay open.  For waffles, definitely spray the cooking surfaces and following the cooking instructions for your equipment.

Serving:  We have added chocolate chips (minis) to the pancakes, and that turned out just fine.  We have also served with organic maple syrup, blueberry syrup and raspberry syrup.  Last week, Pip ate some with honey on them; William Bradford will even eat them plain.  :-)

I have some in the blender now to serve in the morning.  :-)  Enjoy!

Plan it … Don’t Panic … Hmmm….

We’ll see if this works.  I’m not quite sure how we’re going to swing this with all the variety in our schedule(s), but we’re giving it a whirl.

Monday

  • Breakfast: Maple Oatmeal
  • Dinner:  Beef Tacos and Black Beans
  • (Remember to thaw the beef for chili.)

Tuesday

  • Breakfast: Scrambled Eggs and toast
  • Dinner: Chili and Cornbread
  • (Remember to thaw the Pork Roast.)

Wednesday

  • Breakfast:  Muffins and Yogurt
  • Dinner: Pork Roast, Sweet Potatoes and Green Veggie

Thursday

  • Breakfast: Cereal and Yogurt
  • Dinner: Mushroom Chicken (slowcooker) w/ rice and glazed carrots
  • (Remember to start the Slowcooker in the AM, and thaw the Ground beef for Friday.)

Friday

  • Breakfast: Fried Eggs and sausage
  • Dinner: Beef Lombardi and fresh salad

Saturday

  • Breakfast:  Muffins and Fruit
  • Dinner: Pork Tenderloin w/buttered potatoes and veggies

Sunday

  • Breakfast: Oatmeal, fruit or Cereal
  • Dinner:  Soup, Sandwiches, and Salad

The Crustless Quiche

As many of you know, the men in the house have all been gluten free since December.  Sam has actually been on a gluten free diet for going on 7 years now.  In the interest of “solidarity”, we have tried to make the house a “gluten free zone” since the first of the year.  THAT was a challenge.  Many, many recipes had to be scrapped or revamped to accommodate the diet.  The Crustless Quiche is a new addition to the menu. Mark used to love quiche night, so now we can add it back into the rotation!!!

Here is the basic recipe for the quiche. The tomatoes were a last minute garnish on top and were actually a tasty addition. They were very thinly sliced with a sharp slicing knife. I used organic brown eggs and they tend to be larger than the average “Large” store bought egg. So, if you are using regular eggs, use five instead of four.  Also, you could easily modify this to contain your favorite stuffings … the basic quiche is a good starting place.

Ingredients

Four Eggs (beaten)

1 1/2 C Half & Half or Milk

1/2 tsp Salt

1/4 tsp fresh ground

A Dash of Cayenne Pepper

1/4 tsp Minced Onion

1 tsp basil (or several leaves of fresh basil chopped)

1 Cup Shredded Sharp Cheddar

1/2 Cup Shredded Cheese ( Parmesan, Jack, or Mozz)

1/2 Cup sliced/diced Ham (or Broc, or Spinach, or sauted pepper & onions)

Oil or Non-stick cooking spray

Optional: 1 tomato thinly sliced

Note:  If using Milk only, use 1 1/4 C.  If using a combination of both, slightly decrease the amount of liquid.

Directions

Spray the entire interior surface of a 9 or 10 inch pie dish with non-stick spray, or rub with oil.  Preheat oven to 350 degrees.

In a medium mixing bowl mix eggs, half & half or milk (or a combination of the two), and the next five ingredients together and whisk well.  In the bottom of the pie dish, sprinkle the cheeses and ham (or veggies) evenly throughout the dish.  Pour the egg mixture slowly into the dish.  If you are using a shallow dish, it may not all fit in one dish.  This generally works better in at least a 9-inch deep dish pie pan.  Use a fork to gently wiggle the stuffings around if there appear to be any severely lumpy or bare areas.  If you want to add the tomato slices, now is the time.  Gently place them on top of the quiche and try not to submerge them in the eggs.

You can place this on a cookie sheet, or stone, in your oven to help prevent messy overflow.  You can also place a large piece of foil on the over rack before you put the pie pan into the oven.  If you don’t want to worry about any of that … just place the pie plate into the preheated oven and bake for a minimum of 45 minutes.  At the end of 45 minutes, check to see if the center of the quiche has risen.  If it has, test the center for doneness with a very sharp knife.  If the knife comes out basically clean, remove the quiche from the oven.  If not, wait five minutes and try again.  Variations in ovens may produce different results, so start checking the quiche when you think it looks ready.

Let the quiche stand 10 – 15 minutes before trying to slice and serve it. Enjoy!!

C. Walker
To print this recipe, click on the title above. Then print use your browser’s print function. That way you won’t print the whole blog.

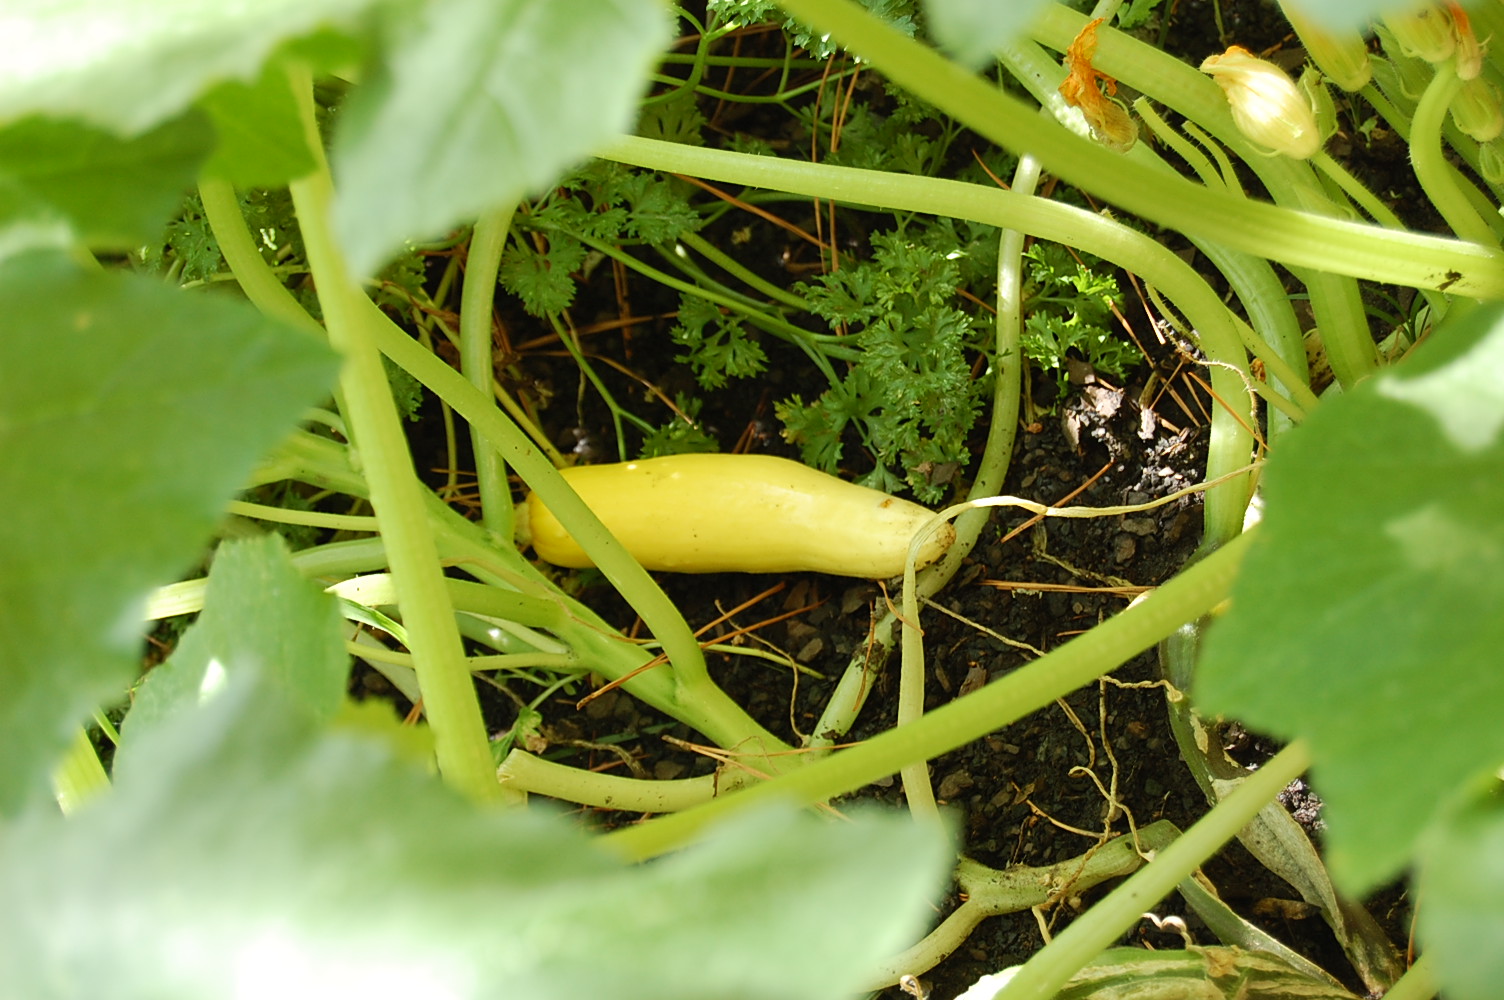
Summer Squash Casserole … it’s that time of year again!

Summer Squash Casserole

Ingredients

4 to 5 Medium to Large Summer Squash (washed and sliced)
1 jalapeno pepper (washed, seeded and finely sliced or chopped)
1 Medium onion (Vidalia or other) cut into this rings and separated
1 tsp salt
¼ tsp fresh ground pepper
1 C Sour Cream
1 C bread crumbs, cracker crumbs-whatever you have on hand (divided in half)
½ stick butter (melted)
1 C shredded cheese – cheddar, or your choice (divided in half)
1 medium baking dish
1 large sauce pan with lid

Directions
Preheat oven to 350 degrees.

Place the first three ingredients in the sauce pan. Add water to a two-inch depth and cover. Bring to a boil at medium to medium-high heat. Reduce heat but maintain boil until squash is fork tender but not mushy. Make sure water remains in the pan so that the squash does not burn or stick.

Drain in a colander. Smash in colander, in sink, with a potato masher or large wooden spoon. Stir to encourage draining. Let sit 2-3 minutes to eliminate add’l water. Return mixture to the pan. Add salt, pepper, sour cream, ½ C cracker crumbs, and ½ C cheese to the mixture. Thoroughly combine. Rub the baking dish with oil or butter, or spray with non-stick cooking spray. This helps make clean up easy. Place mixture in baking dish.

Combine melted butter with remaining cheese and cracker crumbs. Spread evenly across the top of the casserole.

Bake uncovered at 350 for 30 – 45 minutes, depending on your desired level of “crispy crust”. Remove from the oven, serve and enjoy!!

I Cooked What?

Those of you who know me well know that the only “greens” I grew up eating were spinach and “salad”. We never ate collards, or “turnip salad”, or anything like them. Mark – however – grew up in Roxboro eating collard greens and turnip salad.

I tried the collard greens once, years ago, during a visit in Roxboro. They had lost all their vibrant green pigment and appeared to have been cooked for several days. I couldn’t eat them. So, despite Mark’s love for the “greens”, I’ve never prepared them for him … until tonight.

We joined a CSA (community supported agriculture) this year and have now had two weeks of produce. So far, the only things I’ve not been able to find some way to use have been the abundance of radishes. Personally, one radish a year is sufficient for me. This week the box included a healthy portion of Flash Collards – and I refuse to waste them. I knew there had to be a way to prepare them that wouldn’t kill them or me. Here’s the recipe I came up with, and it was REALLY good. I even ate some, and liked them. They weren’t the least bit bitter or sour.

Chloe’s Collards

One large bunch of collards
3-4 Tbs of Olive Oil
1 large clove Garlic (minced)
1 Leek washed and thinly sliced
Kosher Salt & Fresh Ground Pepper to taste

Rinse and pat dry the collards. Trim off the end of the stems. Stack the leaves one on top of the other and roll the bunch tightly from one side to the other (like a cigar). Thinly slice the leaves while rolled, slices not more than 1/8 of an inch wide. Set the collards aside.

Heat the olive oil in a saute pan. When it is warm, but not smoking, add the minced garlic and the leek slices. Saute for 2-3 minutes … until translucent, but not toasted or burnt. Add the collards and toss in the oil with tongs. Keep tossing in the pan for 1-2 minutes until the collards are bright green and have softened a bit. DO NOT over cook. Turn off the heat. Add fresh ground pepper and kosher salt to taste. Serve immediately. Enjoy.

Per Nichole’s Request … Cranberry Apple Casserole (gluten free!)

You will need:

  • 3 C chopped apples (Winesap, Granny Smith, Fuji…)
  • 2 C whole fresh (frozen) cranberries
  • 2 C sugar
  • 2 T orange juice
  • 1 t cinnamon

    You can cook this one of two ways. You can cook it in a slow cooker on low for 5 to 6 hours, or you can cook it as a traditional casserole. For a traditional casserole, see the topping and baking instructions below. If you choose to cook it in a slow cooker, you can double the batch and “can it” if you are ambitious. Mmmmm …. tasty. I suppose you could freeze it too, I haven’t tried that.

    For Topping:

  • 1 stick melted butter
  • 1/2 C brown sugar
  • 1 1/2 C Corn Flake Crumbs
  • 1/2 C pecans (chopped)

    Baking Instructions: Mix the apples, cranberries, white sugar, orange juice and cinnamon together and place in a buttered 9 * 13 casserole dish. Mix together the melted butter, brown sugar, corn flake crumbs and pecans. Stir and pour over the top of the apple/cranberry mixture. Cover with foil. Bake at 325 degrees for 1 – 2 hours. You want the apples to be tender, and some cook faster than others. Uncover the casserole for the last 10 – 15 minutes so the crust can get “crusty”. Enjoy!!

    What’s for dinner tonight?

    Over the last few weeks, I’ve tried several new main dish dinner recipes.  Three of the four were definately worth repeating, one was not.  Try one or two out for yourself.  These came from Southern Living and MyRecipes.

      Beef Lombardi

      Fiesta Taco Lasagna

      Mexican Lasagna

    We won’t be trying All-In-One Spaghetti again.  I suspected that the noodles in this might not perform well, and I was right.  Not one of my better productions, but I’m going to blame some of it on the recipe.

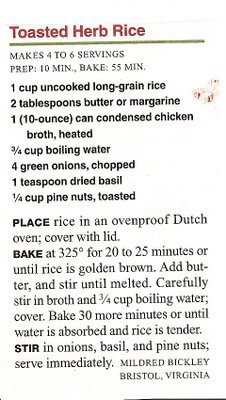
    My New Favorite Rice

    As if the tremendous number of cookbooks I already own isn’t enough, I have purchased yet another one. We will see in the weeks to come if the “new” Ultimate Southern Living Cookbook is in fact the ultimate.

    Sadly though, this recipe comes from and old 1995 or ’96 issue of Southern Living that I have moved 3 times and finally disposed of after removing any helpful information. This issue and many others were finally harvested a few weeks ago. This recipe is wonderful and wonderfully easy. You can make so many versions by changing one thing or another, but the basic recipe is GREAT. Try it. The rice doesn’t even stick to the pan!!

    Good Luck!

    Catching up in the Kitchen

    This past weekend, Mark took Sam, Sophie and Wilson to his nephew’s wedding where they all had a part in the ceremony. While they were away, Claire and I spent some quiet time together. We also spent way too much time watching the Food Network. I have two recommendations after our initial efforts in the kitchen.

    The first is from The Barefoot Contessa for Panzanella. This was a WONDERFUL salad that makes use of so many of the fresh veggies available in the summer garden. I did have to make two modifications: I used regular mustard since I just gave my jar of Dijon Mustard to my Mom, and I didn’t add the capers. But it was delicious non-the-less.

    The second recipe comes from this month’s issue of Southern Living Magazine and is found on page 186, Mississippi Mudd Cookies. The cookies were slightly easier than traditional Mississippi Mudd to make, and I like to think maybe they weren’t as bad for me. If you prefer the traditional Mississippi Mudd Cake, it’s in the same article in the magazine. This issue of Southern Living proves better than most of their Idea House issues in the past. Typically, the Idea House issues pay inadequate attention to the recipe and food section of the magazine. This one was surprisingly good, despite the lesser number of recipes included. This recipe, and the others in this particular article, might even be worth purchasing your own copy of the magazine.

    Happy Cooking!!

    Baby must be near….

    Well, we must be getting close to an arrival soon. While Mark had the children at the pool this afternoon, I took a two hour nap. WOW! Where did that come from. Then this evening I rearranged the freezer and made a coffee cake for in the morning. Hopefully, someone will get to eat it in the morning.

    I used one of my favorite recipes for this coffee cake. I realized when putting it together that I haven’t made it in over a year. Where has the time gone?? The recipe is from Southern Living Magazine; I think it was February 1998. It’s an easy bake and tastes great!

    Raspberry-Cheese Coffee Cake
    1 (8 oz) package Crm Cheese (softened)
    1/2 C butter or Marg (softened)
    1 C Sugar
    2 Lg Eggs
    1/4 C Milk
    1/2 tsp Vanilla Extract
    1 3/4 C All-Purpose Flour
    1 tsp Baking Powder
    1/2 tsp Baking Soda
    1/4 tsp Salt
    1/2 C Seedless Raspberry Preserves
    3 Tbsp Powdered Sugar

    Beat first three ingredients at medium speed witha n electric mixer until creamy. Add eggs, milk, and vanilla, beating until smooth.

    Combine flour and next three ingredients; add to cream cheese mixture, beating at low speed until well blended. Spread batter into a greased and floured 13×9-inch pan. Dollop with preserves, swirl wih a knife.

    Bake at 350 degrees for 30 minutes or until cake begins to leave sides of pan. Cool slightly, and sprinkle with pwedered sugar. Cut into squares.

    Yield: 12 to 15 servings